-
Whatsapp: +86 13526572721
-
Email: info@zydiamondtools.com
-
Address: AUX Industrial Park, Zhengzhou City, Henan Province, China
-
Whatsapp: +86 13526572721
-
Email: info@zydiamondtools.com
-
Address: AUX Industrial Park, Zhengzhou City, Henan Province, China

How to Choose the Right Diamond Concentration for Your Grinding Wheels
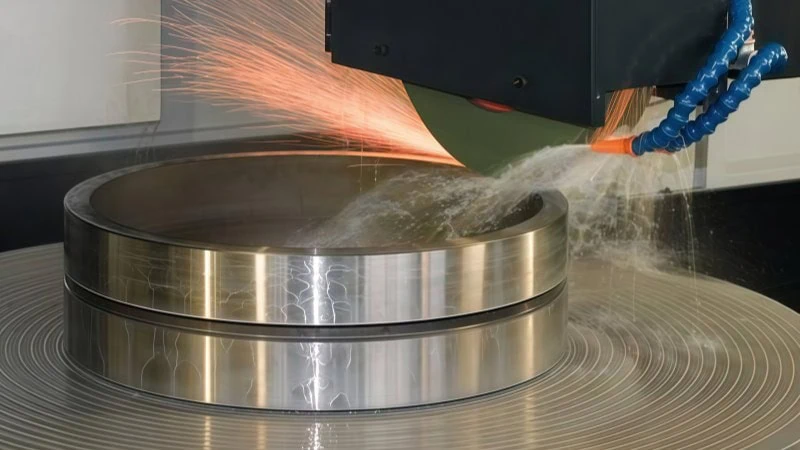
Are you struggling to find the perfect diamond concentration to maximize the lifespan and cutting efficiency of your grinding wheels1?
Choosing the right diamond concentration involves matching the abrasive density—ranging from low (C50) to high (C125)—with your specific machining parameters. You must evaluate the workpiece contact area, the presence of coolant, the bond material, and grit size to balance heat dissipation, shape retention, and overall cost per part.
Decoding Diamond Concentration Levels: C50, C75, C100, and C125
What exactly do these diamond concentration numbers mean for your grinding process?
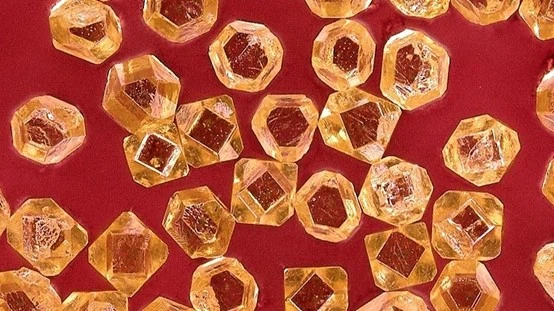
Diamond concentration measures the exact weight of diamond grit inside the abrasive layer of a grinding wheel. The manufacturing standard is C100. This equals exactly 4.4 carats of diamond per cubic centimeter of bond volume. Therefore, a C50 wheel contains half that amount, while a C125 wheel contains 25 percent more diamonds than the baseline.
The C100 Benchmark Standard Explained
In the abrasives industry, manufacturers need a universal starting point. The C100 concentration serves as this fundamental baseline. When a wheel is labeled C100, the diamond particles occupy roughly 25 percent of the total abrasive layer volume. The remaining 75 percent consists of the bond material and structural pores.
Why does this matter? Knowing this baseline helps you easily calculate the abrasive density of any other wheel. For instance, a C50 wheel has exactly 2.2 carats per cubic centimeter. A C75 wheel has 3.3 carats.
To make this easy to understand, here is a standard industry reference table:
| Concentration Level | Diamond Density (Carats/cm³) | Volume Percentage (%) | Relative Diamond Amount |
|---|---|---|---|
| C50 | 2.2 | 12.5% | 50% of Standard |
| C75 | 3.3 | 18.75% | 75% of Standard |
| C100 | 4.4 | 25.0% | Standard Baseline |
| C125 | 5.5 | 31.25% | 125% of Standard |
Note: While 4.4 carats per cubic centimeter is the universal industry standard for C100, always verify the exact carat density and volume specifications with your wheel supplier, as custom manufacturing formulas can occasionally introduce slight variations.
Think of the C100 standard like AISI 1212 steel in a machine shop. Machinists historically use 1212 steel as the 100% baseline to judge the machinability2 of all other metals. Similarly, toolmakers use C100 as the baseline to evaluate the abrasive density of all other diamond wheels.
Visualizing Diamond Spacing and Bond Ratio
Changing the concentration number directly changes the physical spacing between individual diamond particles.
When you use a low-concentration wheel like C50, the diamond particles sit further apart. Because there are fewer diamonds, the manufacturer must use more bond material to fill the gap. This extra space creates larger pores. Ultimately, these pores act as critical escape routes for grinding swarf.
Conversely, a high-concentration wheel like C125 packs the diamond particles tightly together. There is much less bond material between the grits. This dense packing creates a very rigid cutting surface.
To visualize this, consider the flutes on a CNC end mill:
- A low-concentration wheel acts much like a 2-flute aluminum cutting end mill. It has deep, wide valleys. These wide gaps provide massive chip clearance for fast material removal.
- A high-concentration wheel behaves like an 8-flute finishing mill. The cutting edges are placed very close together. It provides a highly accurate shape but offers almost no room for chip evacuation.
Therefore, your concentration choice is a direct structural trade-off. You are constantly balancing the physical diamond count against the available space for swarf removal.
The Golden Rule of Selection: Evaluating the Contact Area
The fundamental rule of diamond grinding dictates an inverse relationship: large contact areas require lower diamond concentrations (C50 to C75) to allow for adequate swarf clearance. Conversely, narrow contact areas demand higher concentrations (C100 to C125). This higher density ensures the wheel maintains its precise structural profile under concentrated cutting pressure.
Why Broad Contact Areas Require Lower Concentrations
When you perform surface grinding, a massive portion of the wheel touches the workpiece at once. This creates a very broad contact area. Consequently, this large engagement zone traps a huge volume of removed material, commonly known as swarf.
If you use a high-concentration wheel here, the tight spacing between diamonds leaves no room for the swarf to escape. The wheel will quickly pack with debris. This detrimental condition is known as loading.
To solve this problem, you must select a lower concentration, such as C50 or C75. A lower concentration naturally contains more bond material and open structural pores. These open pores act as vital escape channels for the waste material.
“In abrasive machining, the physical contact area is the ultimate dictator of tool pressure and swarf generation.”
Consider a large face milling operation on a CNC mill. Machinists use face cutters with massive chip gullets to evacuate material over a wide surface. A low-concentration diamond wheel works exactly the same way. It provides the necessary physical space to clear chips across a broad grinding zone.
For example, when surface grinding large tungsten carbide3 plates, switching from a C100 to a C50 wheel drastically reduces wheel loading. The open structure easily carries the abrasive carbide dust away from the cutting zone.
Securing Shape Retention for Narrow Contact Areas
Narrow contact areas present the exact opposite machining challenge. Operations like cylindrical grinding4, internal grinding, or cutting sharp grooves put all the cutting pressure onto a tiny point.
When the contact area is narrow, the wheel’s edge takes a massive beating. If you use a low-concentration wheel, the few exposed diamonds on that edge will quickly shatter. They will rapidly pull out of the bond, causing the wheel to lose its profile.
Therefore, narrow contact areas require a high diamond concentration, such as C100 or C125. A higher concentration packs many more diamonds into that tiny cutting edge. These densely packed diamonds share the heavy cutting load evenly. This prevents premature wear and ensures the wheel holds its precise shape longer.
Think about a single-point turning tool on a lathe. If the cutting tip is weak, the immense localized pressure will snap it immediately. You need a highly reinforced edge to survive point-contact cutting. A C125 diamond wheel provides that exact structural reinforcement for narrow grinding.
To easily summarize this selection process, refer to this straightforward comparison table:
| Application Type | Contact Area | Recommended Concentration | Primary Machining Goal |
|---|---|---|---|
| Surface Grinding | Broad | C50 – C75 | Maximum swarf clearance |
| Cylindrical Grinding | Narrow | C100 – C125 | Excellent shape retention |
| Flute Grinding | Very Narrow | C125+ | Extreme edge durability |
By strictly matching your diamond concentration to your specific contact area, you guarantee a more stable and efficient machining process.
Aligning Concentration with Your Grinding Environment
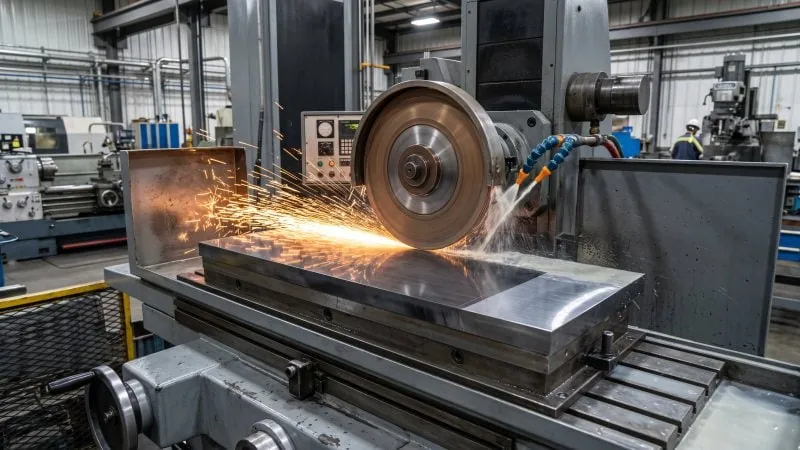
Your grinding environment dictates diamond concentration primarily through thermal management. Dry grinding requires lower concentrations (C50 to C75) because the extra bond material creates open pores for natural air cooling. Conversely, wet grinding systems utilize continuous fluid to remove heat, which allows you to safely run higher concentrations (C100 to C125) for aggressive material removal.
Managing Heat Build-Up in Dry Grinding Operations
When you grind without coolant, heat becomes your biggest enemy. Diamonds are excellent thermal conductors. If you pack too many diamonds into a wheel during dry grinding, friction creates massive heat. This heat quickly transfers into the workpiece. Consequently, this causes thermal cracking5 or burnt surfaces on your parts.
Therefore, dry environments require a lower diamond concentration, typically C50 or C75. A lower concentration means the wheel contains more bond material. As the wheel spins, this bond material wears away slightly faster. This continuous wear constantly exposes fresh, sharp diamonds. Furthermore, it creates essential microscopic air pockets across the wheel’s surface.
These tiny pockets allow air to flow through the cutting zone. This airflow actively cools the workpiece.
Consider an intermittent cutting operation on a milling machine. During an intermittent cut, the milling insert spends a fraction of a second rotating in the open air. This brief pause allows the insert to cool before striking the metal again. A highly porous, low-concentration diamond wheel creates a very similar cooling effect during dry grinding.
For instance, many toolrooms sharpen tungsten carbide saw blades dry. Using a C100 wheel for this dry application often leads to surface micro-fractures on the carbide. Switching to a C50 wheel eliminates the thermal damage entirely by improving natural airflow.
Maximizing Efficiency in Wet Grinding Systems
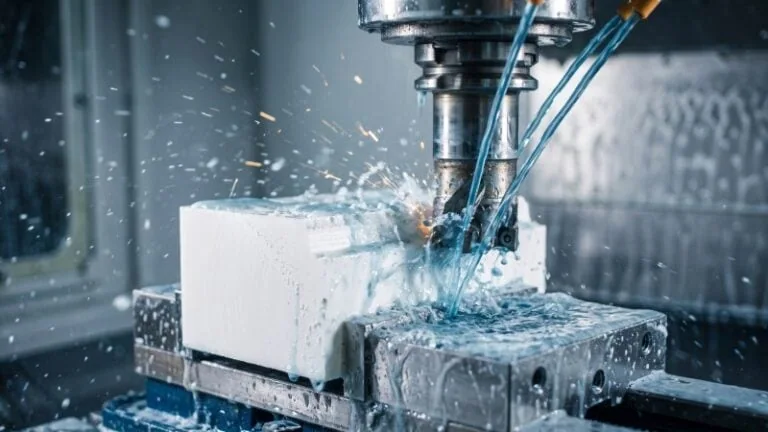
Introducing flood coolant6 completely changes the rules of wheel selection. Coolant actively flushes away heat and swarf. Because the fluid handles the thermal management, you no longer rely on the wheel’s porosity for cooling.
As a result, wet grinding environments allow you to maximize your machining efficiency. You can safely upgrade to a standard or high diamond concentration, such as C100 or C125.
With a C125 wheel, you have 25 percent more cutting points engaging the material at any given moment. This high density drastically increases your Material Removal Rate (MRR)7. The wheel cuts faster, lasts longer, and requires less frequent dressing.
“Flood coolant unlocks the ability to use high-concentration wheels, transforming thermal energy into productive cutting action.”
Think about high-pressure, through-spindle coolant used with solid carbide drills. The pressurized fluid blasts away the heat and chips instantly. Because the heat is controlled, the CNC programmer can safely push the drill’s feed rate much higher. Wet grinding with a C125 wheel works exactly the same way. The coolant protects the part, so the dense diamonds can work harder.
Specialized Concentration Needs for Profile and Form Grinding
Profile and form grinding represent the most demanding environments in abrasive machining. In these setups, you plunge a custom-shaped wheel directly into the workpiece to create complex geometries, like threads or specialized gear teeth.
These operations require extreme dimensional accuracy. The wheel cannot lose its shape. Therefore, form grinding demands the highest possible diamond concentrations, often starting at C125 and going up to C150 or more.
Because high concentrations generate intense friction, form grinding must almost always be performed in a highly controlled wet environment. Running a C150 form wheel dry would instantly destroy both the wheel and the workpiece.
Like a custom-ground carbide form tool on a Swiss lathe, the cutting edge must remain perfectly stable over thousands of production cycles. The extremely dense diamond packing ensures the wheel’s delicate profile resists breaking down under heavy plunging pressure.
To simplify how environments match with concentration levels, review this operational breakdown:
| Grinding Environment | Typical Concentration | Primary Cooling Method | Priority Machining Goal |
|---|---|---|---|
| Dry Grinding | C50 to C75 | Natural airflow via wheel pores | Preventing thermal damage |
| Wet Grinding | C100 to C125 | Flood coolant or straight oil | Maximum material removal |
| Form/Profile Grinding | C125+ (Strictly Wet) | High-pressure targeted coolant | Holding precise wheel shape |
The Interplay Between Concentration, Bond Type, and Grit Size
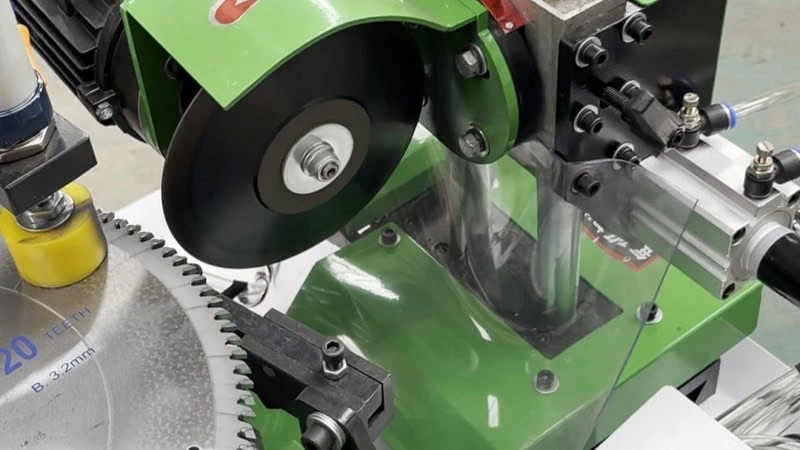
Diamond concentration cannot be selected in isolation; it must act as a coordinated system with both the bond and the grit size. The bond type dictates how strongly the diamonds are held, while the grit size determines the physical volume each particle occupies. Adjusting the concentration aligns these three variables to ensure consistent abrasive exposure and optimal cutting performance.
Adjusting Resin and Metal Bonds for Optimal Abrasive Exposure
Different bond materials8 hold onto diamond particles with varying levels of strength. You must adjust your diamond concentration to match this grip.
Resin bonds are relatively soft and flexible. They naturally wear away during the grinding process. This controlled wear constantly exposes fresh, sharp diamond edges. However, because the resin wears quickly, you generally need a higher diamond concentration, typically ranging from C100 to C125. This higher density ensures enough diamonds remain active to maintain a long working life.
Conversely, metal bonds are extremely rigid and tough. They grip the diamond particles aggressively. If you use a very high concentration in a metal bond, the wheel becomes too hard. The metal will not wear away fast enough to expose new diamonds. This leads to wheel glazing, a condition where the cutting surface becomes totally dull and simply rubs against the workpiece. Therefore, metal bonds usually require lower concentrations, like C50 to C75. This lower density allows the wheel to break down properly and self-sharpen.
“Matching concentration to bond strength is the key to achieving a perfect self-sharpening grinding wheel.”
Think about tool holders on a CNC milling machine. A resin bond acts like a standard ER collet. It holds the tool securely but has some inherent flex. A metal bond acts like a thermal shrink-fit tool holder. It grips the cutting tool with absolute, unyielding rigidity. Just as you adjust your cutting feeds based on your tool holder’s stiffness, you must adjust your concentration based on your bond’s grip.
Matching Diamond Density with Coarse and Fine Grits
Grit size refers to the physical dimensions of the individual diamond particles. This physical size directly impacts how many diamonds can actually fit into the wheel at a specific concentration.
Coarse grits are physically massive. Because they take up significantly more space, a C100 wheel using coarse grit contains far fewer individual diamonds than a C100 wheel using fine grit. If you try to force a high concentration (like C125) with a very coarse grit, you leave almost no physical room for the bond material. The wheel becomes structurally weak, and the large diamonds will simply rip out under pressure.
Fine grits are physically tiny. To achieve a flawless surface finish, you need many of these tiny cutting points engaging the metal simultaneously. If you use a low concentration (like C50) with fine grits, the cutting points become too scattered. The wheel will cut very slowly and wear out rapidly. Therefore, fine finishing wheels almost always require higher concentrations, generally C100 to C125.
To visualize this, consider a custom indexable milling cutter. Coarse grits behave like large, heavy-duty roughing inserts. If you pack too many large inserts onto the cutter body, there is not enough steel left between the pockets to hold them safely. Fine grits act like small finishing wiper inserts. You can easily pack dozens of them together closely on the same cutter body to achieve a mirror finish.
To simplify how these three variables interact, consult this quick reference table:
| Element | Wheel Characteristic | Ideal Concentration | Primary Machining Reason |
|---|---|---|---|
| Bond | Resin Bond | C100 – C125 | Compensates for faster bond wear |
| Bond | Metal Bond | C50 – C75 | Prevents dulling and wheel glazing |
| Grit | Coarse Grit | C50 – C75 | Leaves enough room for bond grip |
| Grit | Fine Grit | C100 – C125 | Maximizes active finishing points |
Analyzing Cost Versus Machining Performance
Is paying more for a higher diamond concentration actually worth the upfront investment for your machine shop?
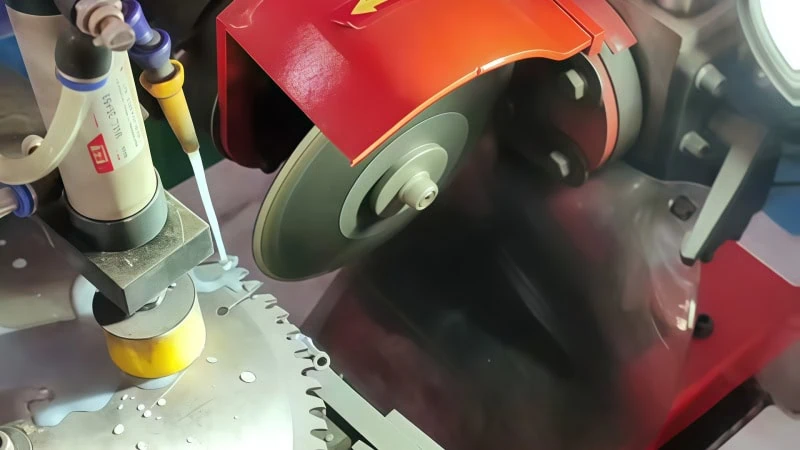
Higher diamond concentrations directly increase the initial purchase price of the grinding wheel. However, the true value depends on your machining efficiency and tool life. A higher initial cost is only justified if the denser concentration significantly increases material removal rates, reduces wheel dressing frequency, or dramatically lowers the overall cost per machined part.
Avoiding the Over-Specification Trap
Many shops fall into the trap of over-specification. They assume that a higher diamond concentration automatically means better performance. This is a costly mistake. Buying a C125 wheel for a basic roughing job wastes valuable resources.
Think of this like buying a highly advanced 5-axis CNC mill just to drill a simple through-hole. The machine can certainly do the job. However, the massive capital investment is completely unnecessary for that specific task. The same logic applies to diamond wheels.
A C125 wheel contains significantly more diamond grit than a C75 wheel. Therefore, the raw material cost is substantially higher. If your older surface grinder lacks the spindle horsepower to push a high-concentration wheel, you gain zero benefit. The extra diamonds simply rub against the metal without cutting efficiently.
“Never pay for abrasive density that your machine tool cannot effectively utilize.”
Instead, match the concentration to your exact production needs. If a standard C100 wheel meets your cycle time and finish requirements, stick with it. Upgrading to a higher concentration will only inflate your tooling budget.
Calculating the True Cost Per Part to Maximize ROI
To evaluate your true return on investment (ROI), you must look past the initial purchase price. The cheapest wheel is rarely the most cost-effective option in production. You must calculate the actual cost per machined part9.
This metric reveals the true efficiency of your chosen concentration. For example, a C50 wheel might cost $200 upfront. A premium C125 wheel might cost $350. If the C125 wheel grinds three times as many parts before wearing out, it is the better financial choice.
Consider the logic of tooling up a CNC lathe. Machinists gladly pay premium prices for high-performance coated carbide inserts. They know the expensive insert will outlast a cheap high-speed steel tool. This reduces tool changes and expensive machine downtime. Your diamond wheel concentration demands the exact same economic analysis.
To find your actual cost per part, use this straightforward formula:
True Cost Per Part = (Initial Wheel Cost + Total Machine Downtime Cost) ÷ Total Parts Produced
Here is a simplified industry case study comparing two concentration levels on a long production run:
| Metric | C75 Concentration Wheel | C125 Concentration Wheel |
|---|---|---|
| Initial Wheel Cost | $250 | $350 |
| Parts Produced Per Wheel | 1,000 parts | 2,500 parts |
| Downtime for Wheel Changes | Frequent | Rare |
| Final Tooling Cost Per Part | $0.25 per part | $0.14 per part |
In this scenario, the more expensive C125 wheel generates a much better ROI. It slashes the final part cost by nearly half. Always track your wheel life and production numbers. This hard data will prove exactly which concentration level makes your shop the most profitable.
Conclusion
Selecting the right diamond concentration is not about blindly opting for the highest diamond count; it is about strategically matching the wheel’s characteristics to your exact operational parameters. By carefully assessing your contact area, coolant availability, bond type, and abrasive grit size, you can strike the perfect balance between cutting efficiency, tool longevity, and cost-effectiveness. Remember that the ultimate goal is to minimize your overall cost per part while maintaining strict dimensional accuracy. If you need help analyzing your specific grinding costs and finding the perfect wheel for your application, please feel free to contact us.
References
- grinding wheels1 – ZYDiamondTools blog post detailing what diamond grinding wheels are and why they are essential for modern machining.
- machinability2 – Wikipedia article explaining the concept of machinability and how historical baselines (like AISI 1212) are established in metalworking.
- tungsten carbide3 – Wikipedia page providing comprehensive technical information on the properties and industrial uses of tungsten carbide.
- cylindrical grinding4 – ZYDiamondTools guide covering the selection, operational guidelines, and case studies for cylindrical grinding applications.
- thermal cracking5 – ScienceDirect topic page explaining the physical mechanisms and detrimental effects of thermal cracking in engineering materials.
- flood coolant6 – Wikipedia article detailing various types of cutting fluids and their vital roles in thermal management during machining.
- Material Removal Rate (MRR)7 – Wikipedia article defining Material Removal Rate and how it is calculated to measure machining efficiency.
- bond materials8 – ZYDiamondTools guide explaining different grinding wheel bond types and how to select the right one for optimal performance.
- actual cost per machined part9 – ZYDiamondTools blog post breaking down the Total Cost of Ownership (TCO) calculation for superhard tooling and abrasives.